How To Use A School Projector? 3 Things You Need To Know
 Micheal Brown
- 23 Mar 2025 14:22
- 184
Students and teachers nowadays are familiar with school projectors. Teaching institutions have become the standard to install projectors and projection screens in classrooms and offices. A projector brings tremendous benefits to education in terms of teaching and learning. It helps teachers deliver the knowledge more efficiently, and students can understand the lesson easier. Learning to set up and use the classroom projectors properly is very important for both teachers and learners. It will increase productivity in class and make your work much more convenient. We will discuss "how to use a school projector" and give you detailed guides.
What Is A Classroom Projector?
The projector devices used in the classroom to facilitate teaching and learning are generally called classroom projectors. They can belong to various categories, such as video or slide projectors, depending on the purpose of the users.
General Traits Of School Projectors
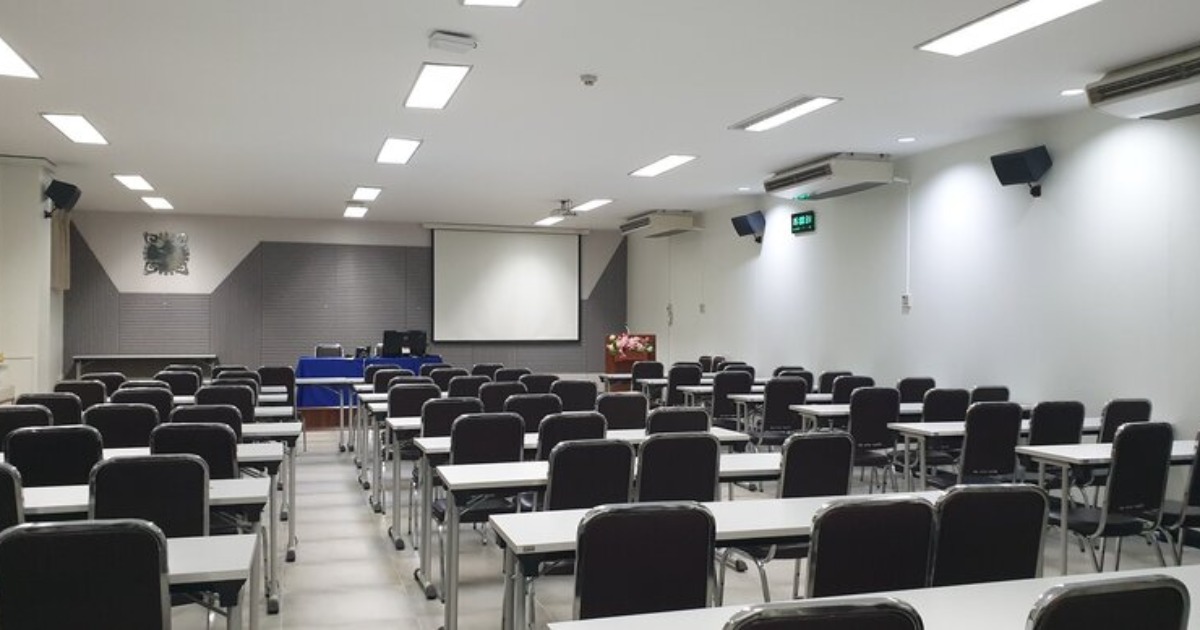
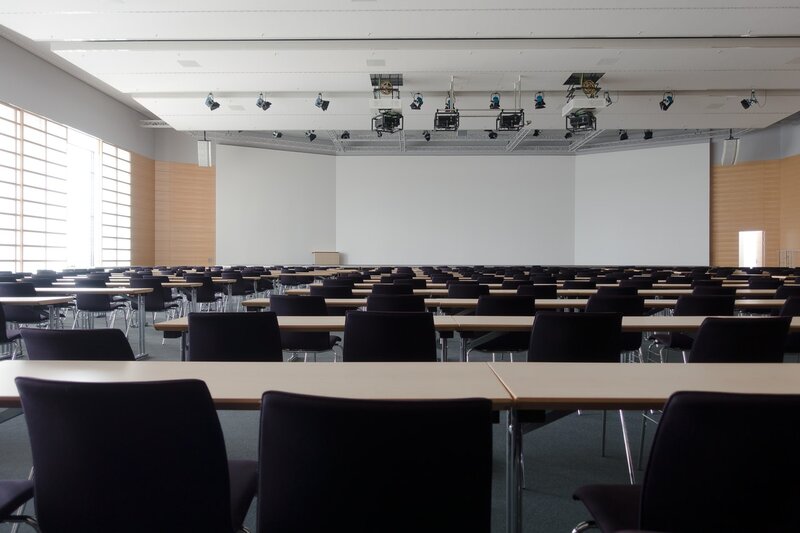
Classrooms are generally large spaces with a lot of windows. Most educational institutions are open during the day, so there will be a lot of ambient light in the room, which can distort the projected images. For this reason, classroom projectors often have high lumen rates (more than 2000) to prevent the images from being affected by ambient light. They are also accompanied by large projection displays (at least 2.0 meters in width). The large screen sizes give better viewing angles and area, allowing a large audience (30-40 students) to see clearly from far distances. Most models used in school are small and portable, allowing teachers to carry them around easily. If the schools can afford it, each room will have a built-in device mounted on the wall.
What Are They Used For?
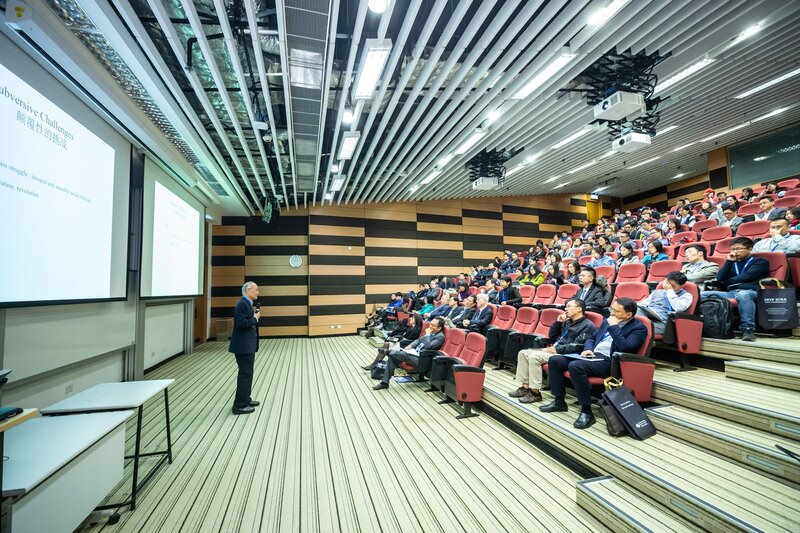
Teachers often pair their laptops with projectors to cast the images on the large projection panel for the whole class to see. They are usually information text or slides containing the lesson's knowledge. Students also use the projectors to make presentations about their group work by casting the pictures and information on the projected screen.
How To Use A School Projector?
How do you use a projector? Different types of the projector can be set up and used differently, but you can follow these three steps to use a school projector.
Set-Up
If you use a portable device, put it in a high place in the class so that any object does not block the view of the projection panel. The best place should be on the teacher's table, with the clearest view and near distance from the screen. For built-in devices mounted or hung on the classroom ceiling, simply turn it on with the remote. If the remote is lost, you have to switch it on manually by pressing the power button on the device's rear. The projector is powered up when the indicator light turns on, or you hear a little beep sound. You see a blue or projected frame on the projection display.
How To Connect A Classroom Projector
You can pair projectors with other smart devices, such as laptops, smartphones, or tablets. The most common option in school is connecting with a laptop using an HDMI cable. Since most affordable school projectors don't have built-in speakers, the audio will be played by your laptop. Now plug the one end of the HDMI or VGA connecting cable to the matching port on your laptop. If your laptop doesn't support these inputs, use a video adapter. Then, plug the other end of the cable into the HDMI or VGA input on your device. If the images don't show up on the projection display, check your projector output settings by pressing window + P on your computer keyboard. Move the mouse to the "duplicate" option and press enter. You can manually open the settings by pressing the buttons on your projector if the keyboard doesn't work.
Turn Off
Turning off the projectors is very easy. Just click the power button on the remote or press the button on your device. Disconnect all the connecting cables and unplug the power cable from the outlet if necessary. If you want more detailed instructions on using projectors in school, consider watching the video below.
Benefits Of A School Projector
Classroom projectors have made teaching and learning in school much easier and more efficient. If the information in the lessons is too lengthy, it is inconvenient and time-consuming for the teacher to write them all on the board. Teachers can project videos and images relating to the lessons to visually demonstrate the in-depth knowledge and ideas. It is one of the greatest benefits of classroom projectors. In this way, students can understand the lessons easier and study with more motivation. It also saves a lot of time and effort as teachers no longer have to write the information manually. Students can take notes easier and learn more effectively by projecting the text and information. Classroom projectors can help students make presentations easier. As printing the paper images or drawing the illustrating pictures are very costly, students can utilize special software like Powerpoint to design their presentations. Then they can project it on the big screen for the whole class to see by using projectors.
FAQS
How To Solve A Blue Screen?
If there is no signal on the projection display, check the connecting cables if they are loose or plugged into the wrong inputs. If it still doesn't work, check your device and computer settings.
How To Adjust The Screen Position?
If the frame is distorted or doesn't fit the screen, you have to adjust the projector's angle. Use the remote or manually adjust the device until you get a perfect projected frame.
Final Thoughts
School projectors have made learning and teaching much more comfortable and effective. We hope that the information provided in this post can satisfy you. Can a projector get burn in? If you are interested in this topic, visit our website Display Central to find out! Thank you for reading!
By, Micheal BrownMichael Brown has been the lead editor of the website display-central.com for a long time. He's been a technology examiner for almost a decade, specializing in the display solutions such as laptops, projectors, and TVs, and Mobile devices. Michael will provide you with helpful and relevant knowledge and advice based on his technical background.